How many times have you thrown out a plastic toy because it broke, the plastic deformed and it couldn’t be repaired? From both and eco-friendly perspective, and an economical-perspective, it is wonderful that most broken wood toys can be repaired to as-strong-as new.
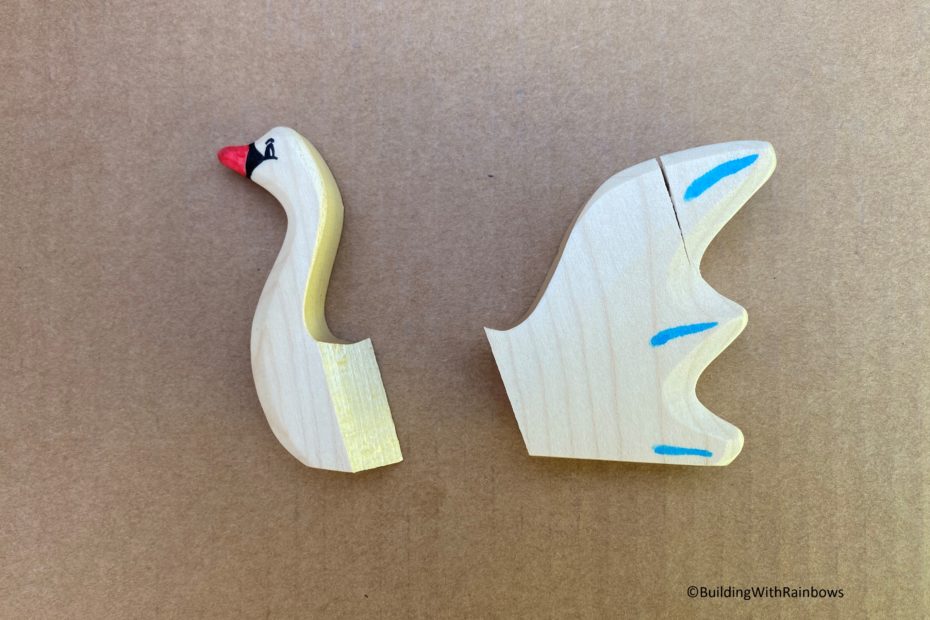
We had a swan hit the garage floor pretty hard the other day, so I’ve taken the opportunity to walk you through how I repair breaks (this poor gal had two).
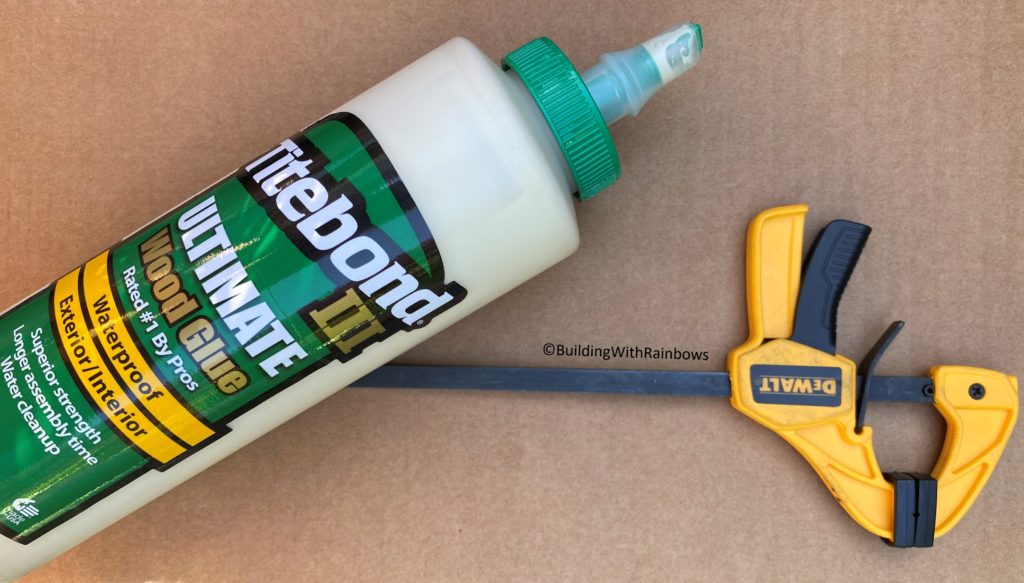
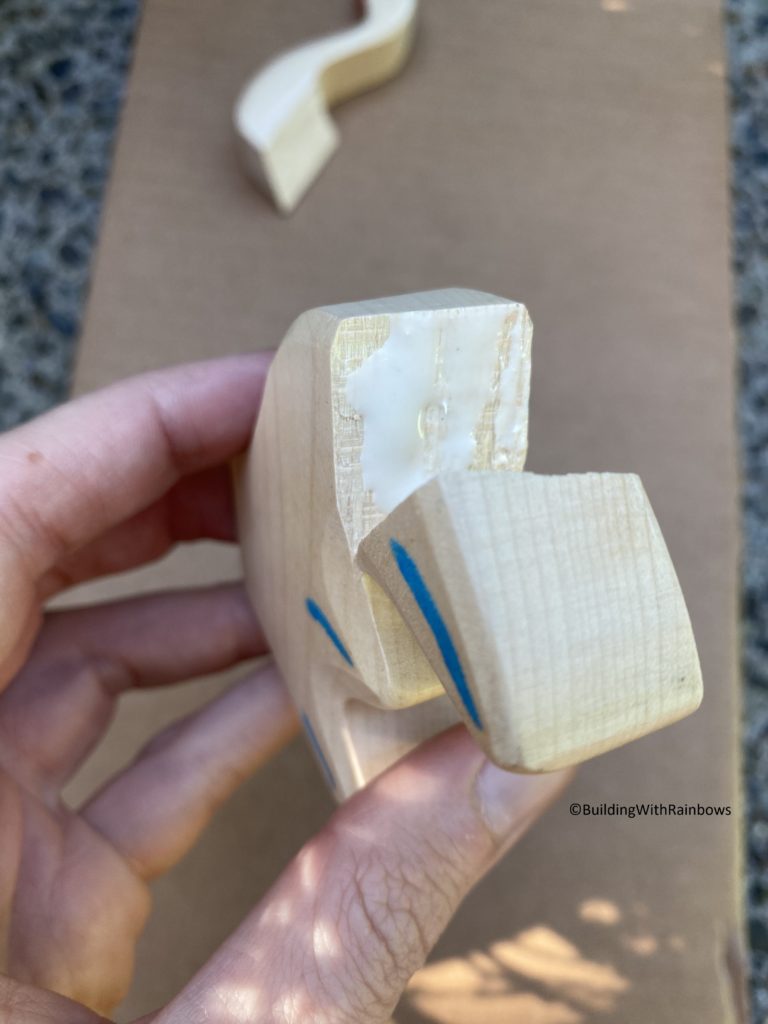
The easier break in this case is the tail. With an incomplete break like this, its tempting to only slip a little wood glue in around the edges. If you do, make sure you can get the glue in far enough to cover most of the broken surface. If the piece snaps off entirely, that’s OK. Sometimes I’ve completed a break so I could do a better glue-application. Apply a thin layer of glue, then close the pieces tight –really squeeze them together—and wipe off any excess glue. Use a small clamp to hold them firmly in place, and let it rest overnight.
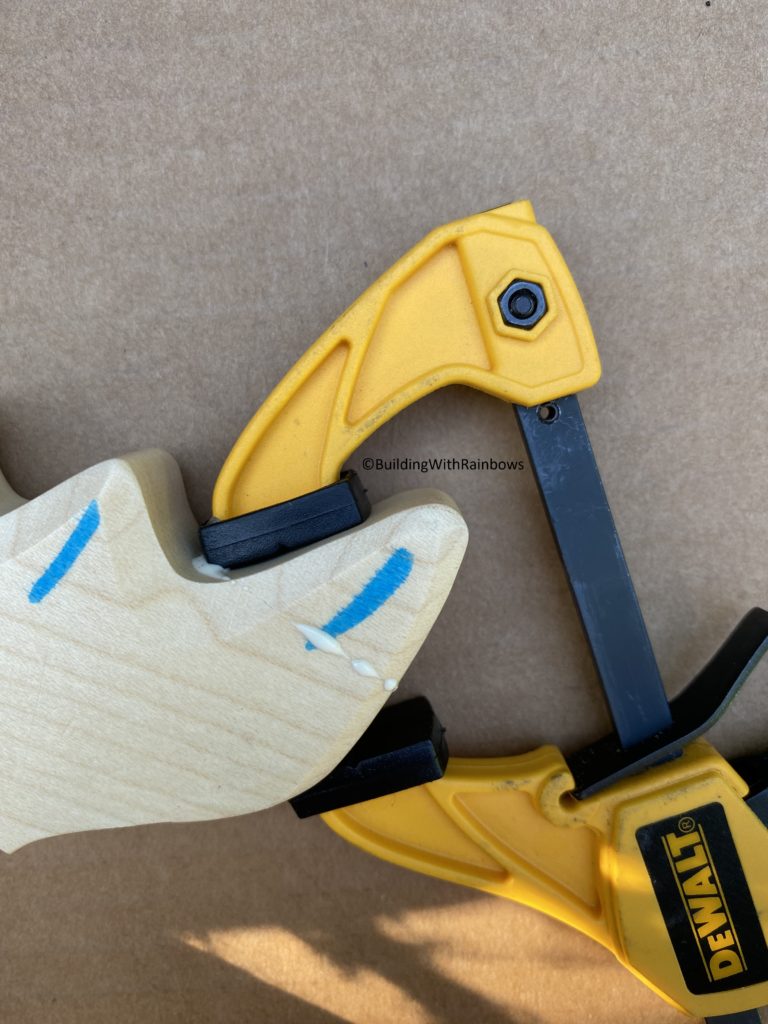
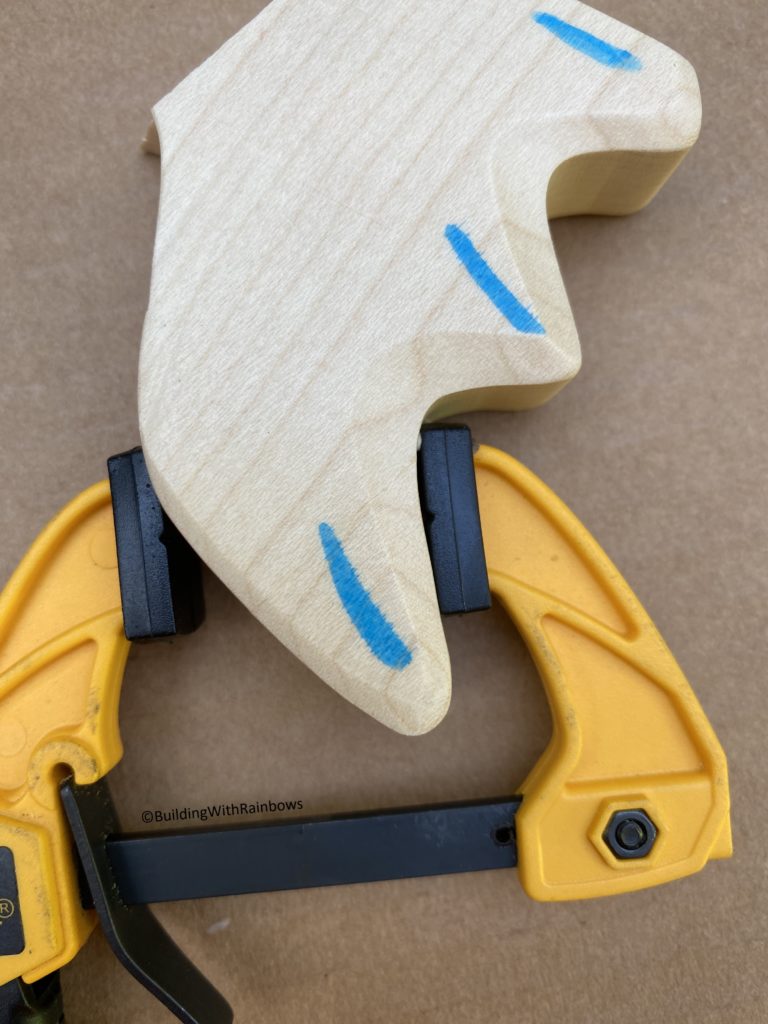
The front half of the swan was much more difficult to repair because of the curves—there was no good way to clamp the pieces in place. Time for a bandaid! I like to use climbers tape to bind the pieces together when the edges are too rounded to support a clamp. Its sticky, not stretchy, and you can bind it tight. Again, let it rest overnight. Although it might be tempting to use the tape on all repairs, I strongly recommend, whenever possible, using the clamp; this keeps the pieces tighter together while the glue dries. Some glues expand as they dry; the clamp is the best way to keep the pieces firmly in place.
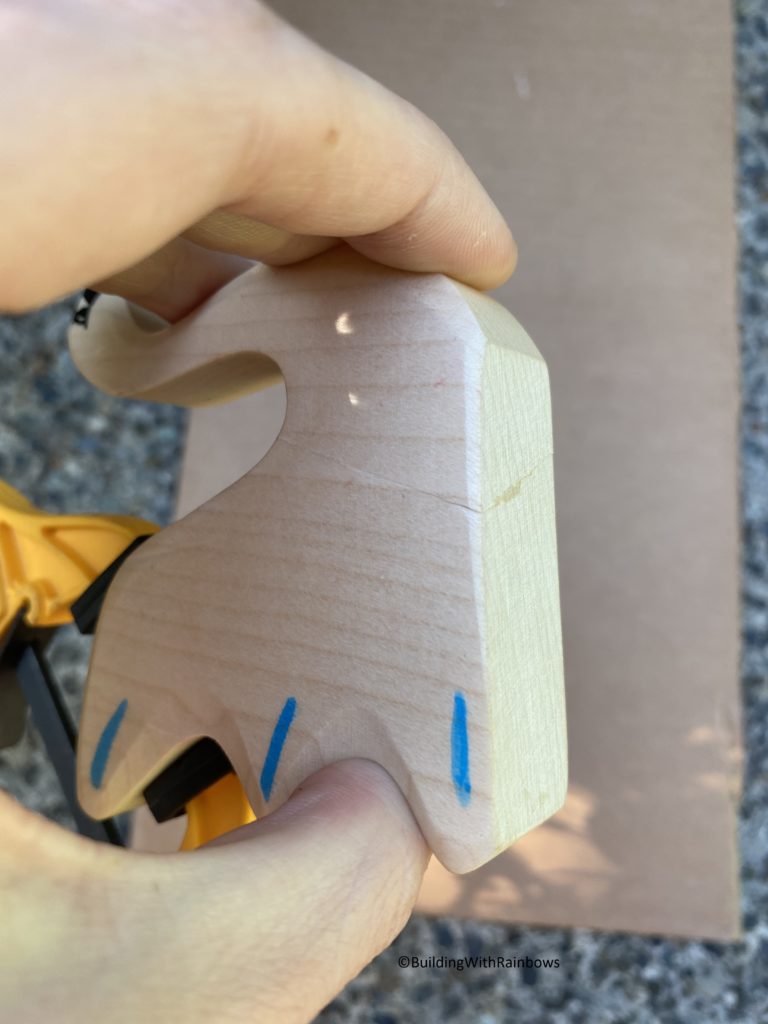
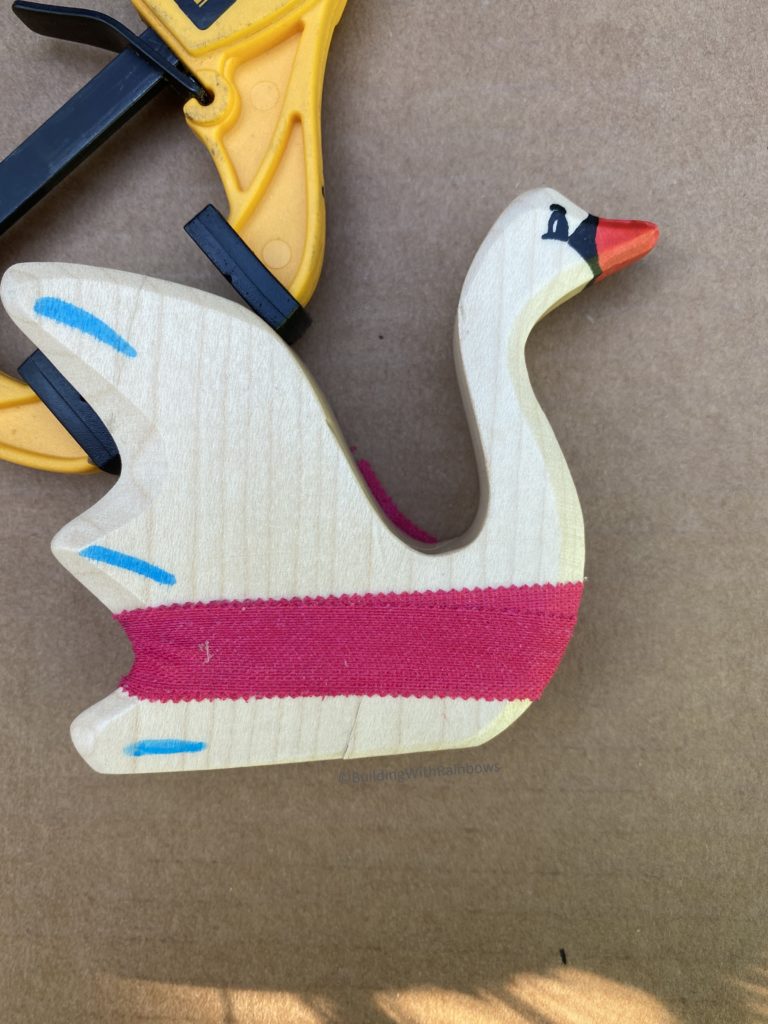
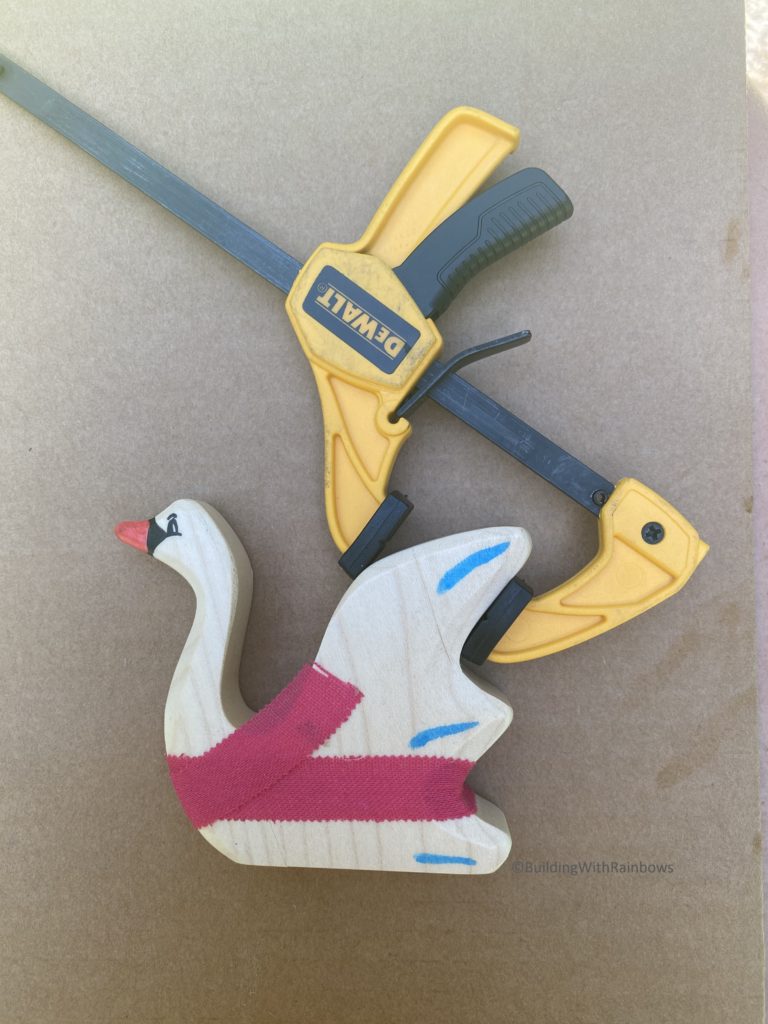
15-ish hours later, we removed the cast and splint. Take off the clamp slowly in case the glue sticks to it anywhere. When you peel the tape off, it may leave a bit of sticky, but nothing that a norwex envirocloth can’t take care of. (Even if you don’t have any broken toys—you should get one of these clothes. The envirocloth + just a little bit of water = the best way I’ve found to clean any wooden toy).
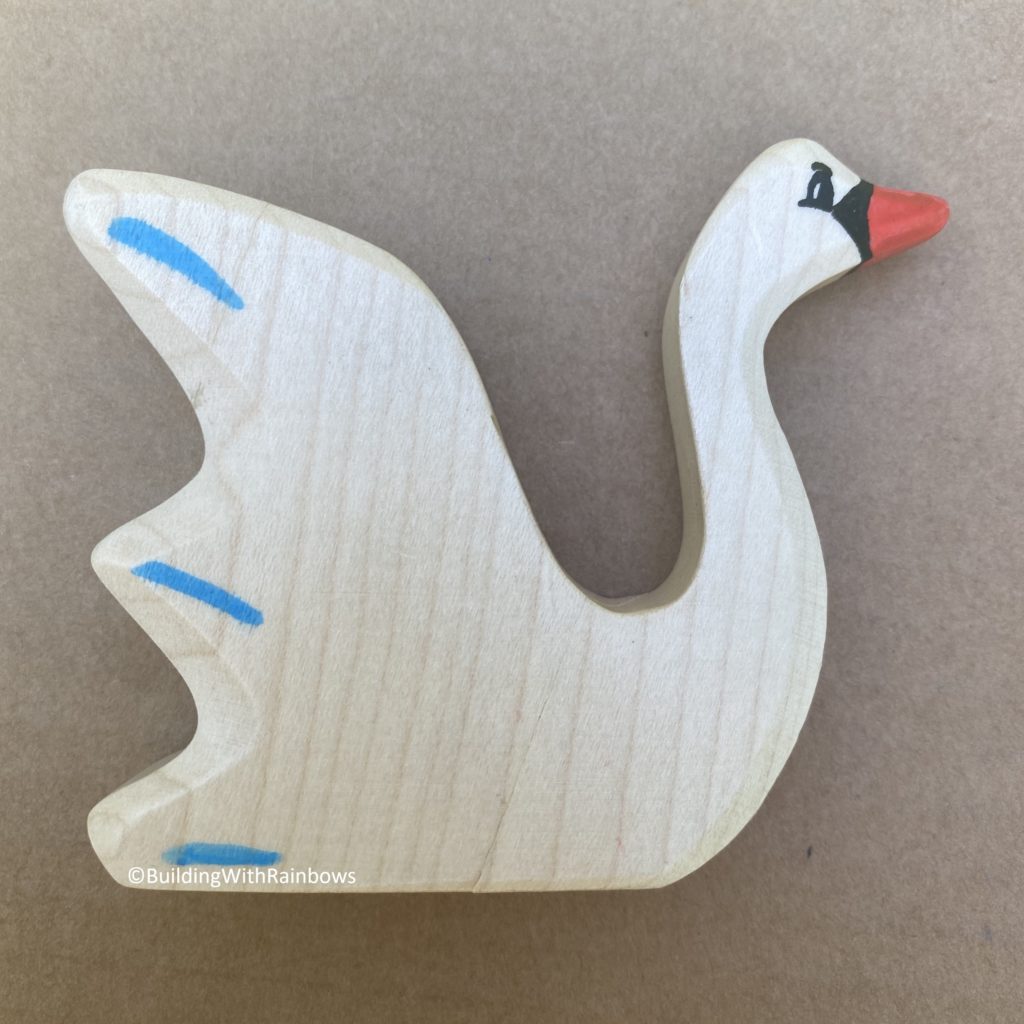
7/13/2020 update: A friend sent me a picture of this piece with a question about how to fix it without damaging it further–with permission to share her picture:
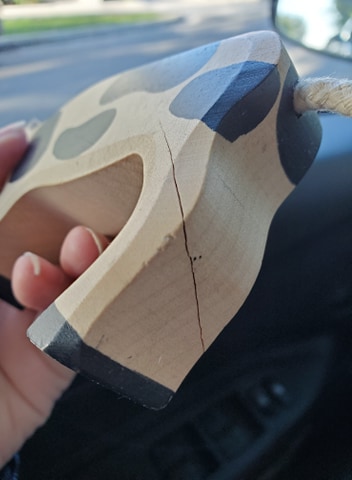
For a very thin crack like this that doesn’t go most of the way through, take a piece of paper, put glue on both sides and thread it back and forth through the split a few times.
Clamp it shut truly as tight as possible. If some glue squishes out, you know some is inside.
Wipe of the glue to clean the edges of the crack and let it dry like normal.
The links in this post are affiliate links. That means when you purchase through our links, Building with Rainbows receives a small commission at no cost to you. Thank you for supporting us.


Pingback: Gluckskafer Sun House, Moon House and Star House – Building With Rainbows